Ever admired the subtle, earthy charm of speckled ceramics? Good news: you can recreate that speckled effect with air dry clay—no kiln required! This technique is perfect for adding texture and personality to your creations, from jewellery dishes to plant pots. Let’s explore how to achieve this look step by step.
What You’ll Need
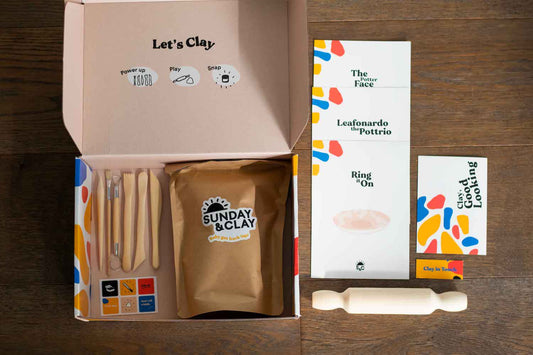
- Air dry clay: Try our Starter Clay Kit.
- Acrylic paint: Choose black, brown, or any earthy tone.
- A toothbrush or stiff-bristle brush: For splattering.
- Sealer or varnish: Optional, for a glossy finish.
- Protective gear: Wear gloves and cover your workspace to avoid mess.
Step-by-Step Guide to Making a Speckled Effect
1. Make Your Base Shape
Start by shaping your air dry clay into your desired form—be it a trinket dish, mug, or sculpture. Let it dry completely before painting.

2. Prep Your Paint
Dilute your acrylic paint with a tiny bit of water to make it easier to splatter. Mix well for a smooth consistency.
3. Splatter Away!
Dip the toothbrush or stiff-bristle brush into the paint. Hold it close to your piece and flick the bristles with your thumb to create speckles. Repeat as needed to achieve your desired effect.
Pro tip: Practice on scrap paper first to control the splatter size.

4. Let It Dry
Allow the speckles to dry completely before moving on to sealing or additional painting.
5. (Optional) Add a Sealer
For a more polished look, apply a layer of varnish or sealant to protect the speckles and give your piece a slight sheen.


Expert Tips for Speckling Success
- Test different flicking techniques to control splatter density.
- Use contrasting colours for bold effects or earthy tones for a natural look.
- Cover surrounding surfaces with paper or plastic to keep your workspace clean.

Need More Inspiration?
- Learn How to Paint Air Dry Clay Like a Pro.
- Shop our Starter Clay Kit to get everything you need for your next project.


