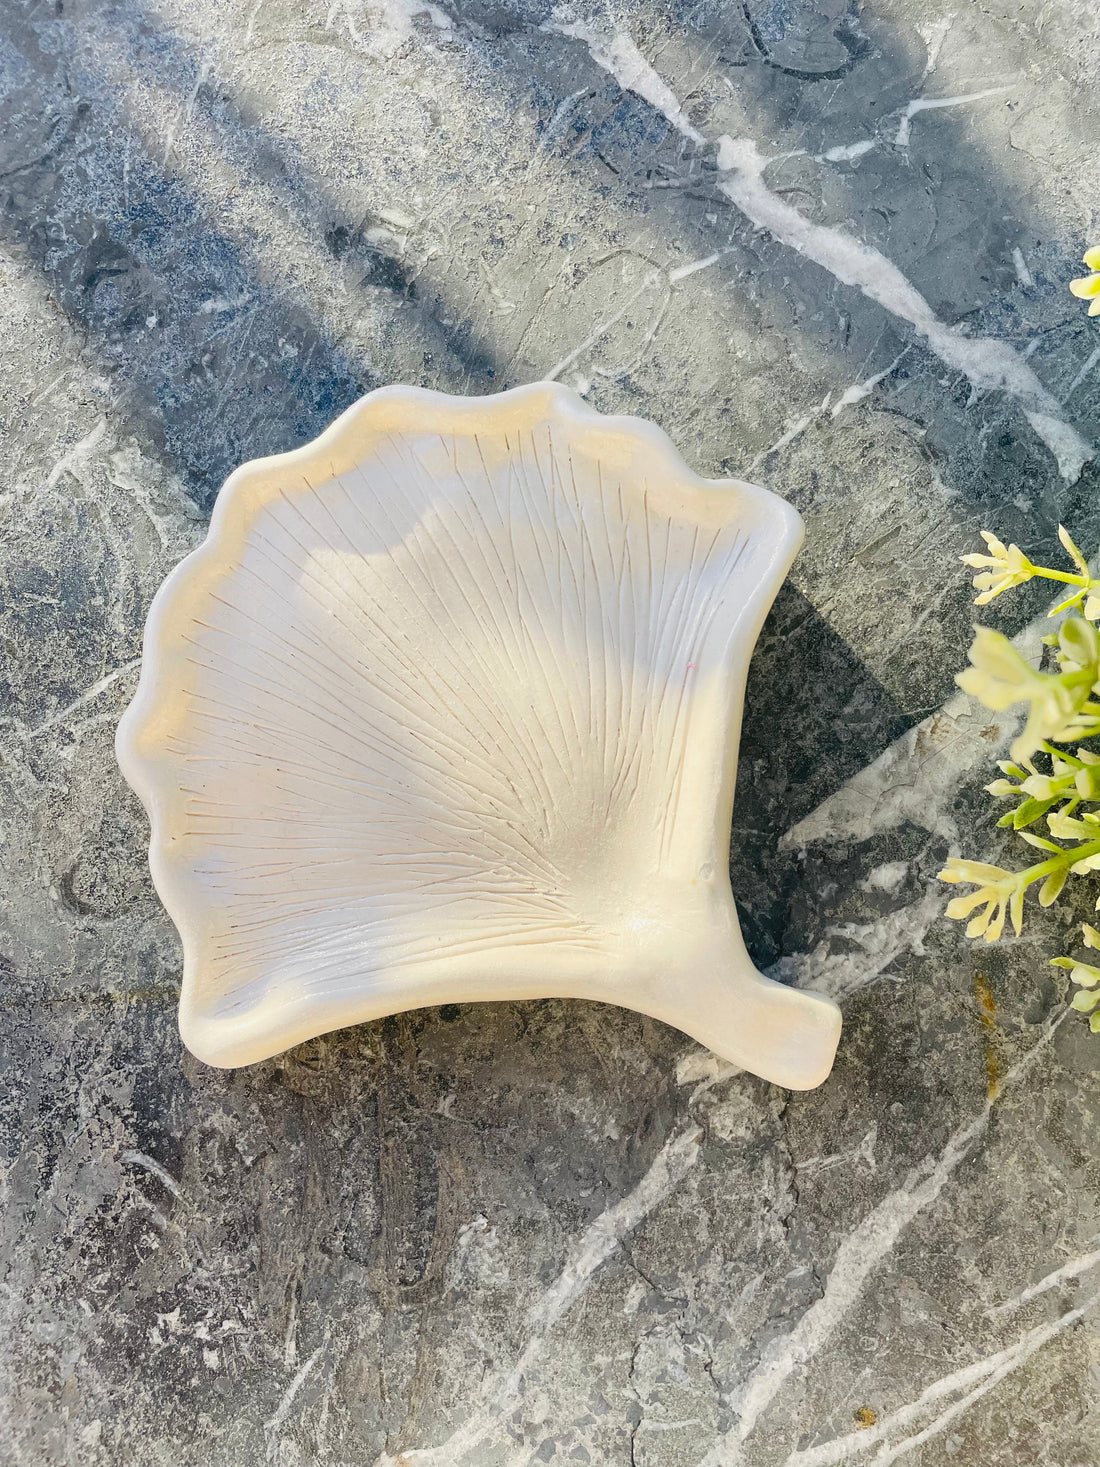

Creating beautiful and functional crafts with air dry clay is one of the most satisfying hobbies out there, and today, we’re diving into a beach-inspired project: a Seashell Jewellery Dish. Whether you’re looking for a stylish way to organise your rings or a thoughtful handmade gift, this project is simple and perfect for all skill levels.
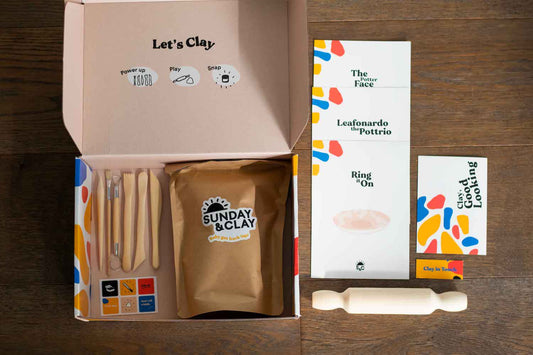
What You'll Need
- 500g of air dry clay (we recommend our Starter Clay Kit for beginners)
- A rolling pin
- Water bowl
- Skewer or clay sculpting tools (included in our kits!)
- Acrylic paint in your favourite colours
- Glaze for finishing (included in all Sunday & Clay kits)
- Wet sponge or soft cloth
Step-by-Step Tutorial
Step 1: Roll the Clay
Roll approximately 500g of air dry clay into a smooth ball. This amount will give you a medium-sized dish, but you can adjust based on your preference.
Step 2: Pinch the Shell Tip
Gently pinch one edge of the ball to create the pointed end of your seashell. Don’t worry about perfection—imperfections add charm!


Step 3: Flatten the Fan
Using your palm, flatten the opposite side of the ball to form the “fan” area of the shell. This will become the body of your dish.
Step 4: Refine the Shape
Hand-mould the clay to refine the seashell's contour. Smooth the edges and adjust until you’re happy with the overall look.
Step 5: Create the Dish
Using your fingers, gently press the middle section of the shell to create a shallow dish. The edges should remain slightly elevated to hold jewellery.


Step 6: Smooth the Surface
Dip your fingers in water and smooth out any rough or uneven edges. This will give your dish a polished, professional look.
Step 7: Add Details
Use a skewer or sculpting tool to draw delicate lines radiating from the pointed end. These details mimic the natural grooves of a seashell.
Step 8: Drying Stage 1
Let your dish dry for 24–48 hours in a well-ventilated area. The clay will become lighter in colour and feel chalky to the touch when dry.
Step 9: Smooth the Surface Again
Once dry, use a damp sponge or soft cloth to smooth down any rough spots. Let it sit for another 2–3 hours.
Step 10: Paint Your Dish
Paint the dish with your favourite acrylic colours. For a classic look, try pastel shades or pearl white.

Step 11: Glaze It
Once the paint is fully dry, apply glaze for a shiny and protective finish. Let the glaze dry completely.
Step 12: Enjoy Your Masterpiece
Congratulations! Your Seashell Jewellery Dish is ready to shine. Use it to store rings, earrings, or as a stunning decor piece.