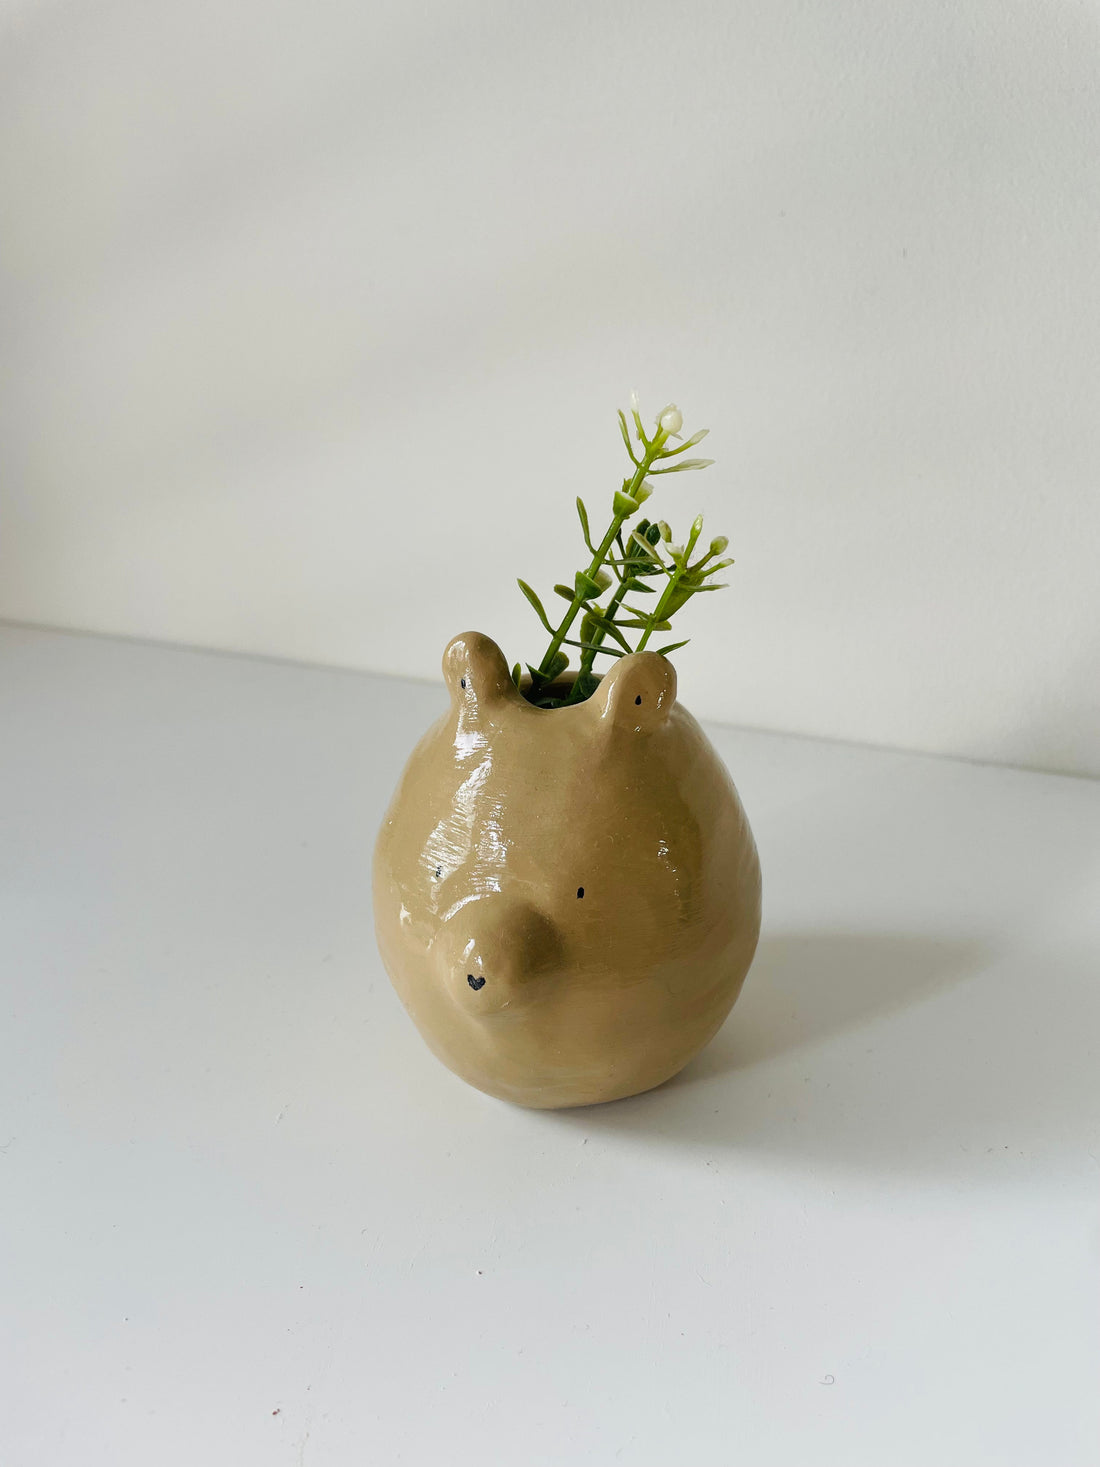
Bring on the absolute cuteness to your space with a DIY Mini Bear Vase! This adorable project is perfect for beginners and uses just 250g of air dry clay, making it an ideal craft for a cosy afternoon. Use it as a cute planter or a fun decorative piece for your home. Let’s get started!
What You’ll Need
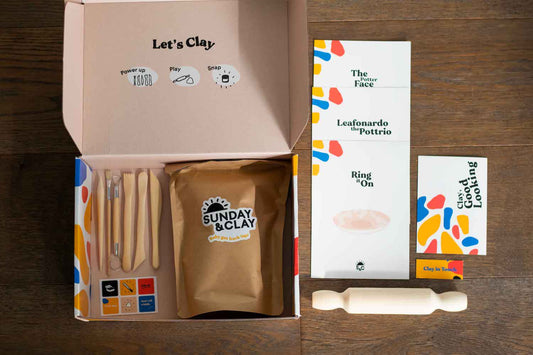
- 250g of air dry clay (included in our Mini Clay Kit)
- Sculpting tools (provided in the kit)
- Water bowl
- Acrylic paint (your favourite colours!)
- Black paint or marker for the bear’s face
- Glaze for a shiny, protective finish
Step-by-Step Tutorial
Step 1: Prepare Your Clay
Break your clay into two equal pieces. Roll each piece into a smooth ball.
Step 2: Make the Bear’s Body
Create two hemispheres by pressing your thumb or finger into the centre of each ball and gently moulding outwards. Ensure both halves are the same size.
Step 3: Join the Halves
Score the edges of both hemispheres, moisten the scored areas with water, and press them together firmly. Use your clay knife and fingers to smooth over the seam until it disappears, ensuring the two pieces are completely joined.
Step 4: Cut the Top
Cut out ½–¾ of a circle from the top of your clay sphere, leaving enough material to form the ears. Gently lift this section upwards—it will become the vase’s opening.


Step 5: Shape the Ears
Cut a slit down the lifted clay to divide it into two sections, shaping them into bear ears. Get creative with the ear shapes—round, pointy, or floppy!
Step 6: Add the Nose
Roll a small piece of clay into an oval shape for the bear’s nose. Attach it to the front of the vase using the same method: score, wet, press, and smooth.


Step 7: Let It Dry
Allow your bear vase to dry for 24–48 hours. It should feel chalky and lighter in colour when fully dry.
Step 8: Smooth the Surface
Use a damp sponge to smooth out any rough edges and refine the details.
Step 9: Paint Your Bear
Paint the vase with your chosen colour, adding personality and charm. Use black paint or a marker to draw on the eyes, nose, and mouth.
Step 10: Glaze It
Once the paint is dry, apply a glaze to protect your work and give it a polished finish.