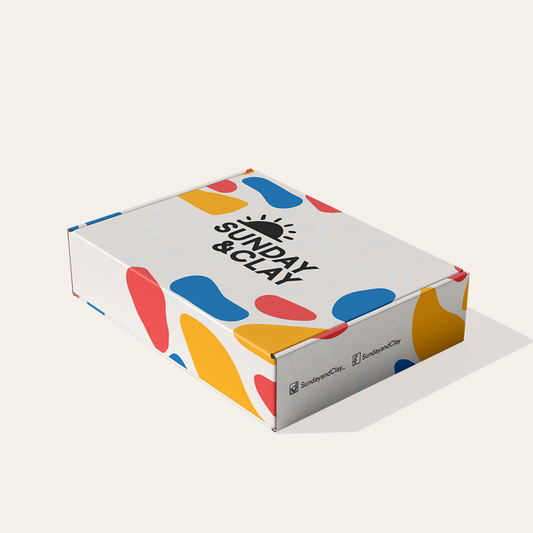
Looking for a quick, creative project to brighten up your space or make a thoughtful gift? With our Mini Clay Kit (250g), you can craft a gorgeous Stamped Trinket Dish in no time! This DIY combines personalisation and functionality, making it the perfect handmade addition to your home or a special present for someone you love. Let's get started!
What You’ll Need
- 250g of air dry clay (included in our Mini Clay Kit)
- Rolling pin
- A stencil or the top of a small bowl
- A larger bowl (for shaping)
- Your favourite stamp or stencil for impressions
- Paint and glaze (included in our kits)
- Wet sponge or soft cloth
Step-by-Step Tutorial

Step 1: Knead Your Clay
Start by kneading the air dry clay into a nice even ball. Make sure not to incorporate too many air bubbles into the clay.


Step 2: Pinch out your Tray Shape
Using your fingers gentle press into the centre of the ball and start pinching outwards to create the basic outline shape of the tray.
Step 3: Shape the Edges
You can use a bit of water and your finger to smooth out the edge or any rough spots.
Step 4: Stamp Your Design
Choose your favourite stamp or stencil to press into the clay. Add a meaningful message, a pattern, or initials—make it uniquely yours!

Step 5: Let it Dry
Allow the clay to dry for 24–48 hours. The dish should feel chalky and lighter in colour once fully dry.
Step 6: Smooth the Surface
Use a damp sponge or soft cloth to gently smooth any rough edges or imperfections.
Step 7: Paint and Glaze
Add splashes of colour using acrylic paint. We used some black paint to make a speckled effect - see our tutorial on how to much the speckled effect here. Once the paint has dried, apply a coat of glaze for a shiny, finished look. Let it dry completely before use.

Why You’ll Love This Project
This stamped trinket dish is not only fun to create but also practical. Use it to hold rings, earrings, or small keepsakes, or gift it as a personalised token of love.


