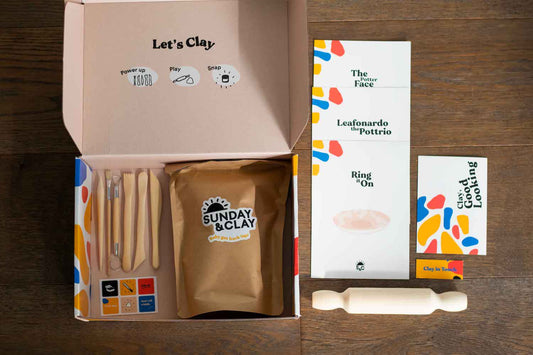
Air Dry clay is one of the easiest types of clay to work with. Not only is it fun and flexible, it’s completely kiln-free which means you can clay just about anywhere!
One of the most common questions we’ve had about working with air dry clay is around how to strengthen your projects - nothing’s worse than having a crumbled clay creation. So here are some top tips from us to you for getting a glazing result with your next clay project!
Tip #1: We like ‘em thick with a double C.
This one goes out for all the clays. Thin sections may render your creation fragile and subject to breaking easily. Now we love the dainty but when it comes to clay, it’s sometimes better to double it up with reinforcement - we usually recommend a minimum thickness of 0.5cm. Just another great way to ensure a break-proof creation.
Tip #2: Glaze it up.
One little trick we’ve found helps to strengthen any clay project is using glaze instead of water for an extra strong hold. Working glaze into your creation can help fill up those porosity that inevitably forms when the air dry clay goes through the final drying process. The glaze is more viscous and gets locked into your creation - creating a much denser and more rigid structure. We recommend a hydrophilic (water-based) glaze for the best result. Also note that this method does reduce your working time slightly (as the glaze will dry) compared with moulding with water so we recommend using this technique for the finessing steps at the end of your mouldy journey.

Tip #3: Let it dry baby!
For an even set try to position your final project to have all surfaces exposed to the air. If you’re standing it upright, be sure to flip it over to let the under surfaces dry too! Depending on the temperature, clay can take anywhere between 24 hours to 72 hours for the full cure. If you go playing around with your creation before it’s fully set this can create microcracks in the clay leaving it more susceptible for future breaks.
Tip #4: Time to get baked.
Yes, you heard right. We condone baking - your clay projects that is. Normally an oven at 225 degrees celsius can see your project almost fully set in about 20 minutes. It will depend on the thickness of your clay creation and your oven so be sure to still check with a prick test (or finger feel) that it has fully set. This is a little hack that can significantly speed up the process for all you impatient clayers out there (yes, we know y’all are excited to get painting!)
Tip #5: Sealing the deal.
Sealing your creation helps to strengthen the clay and make your clay creation more resistant to the elements. It’s like putting on a little raincoat for your clay baby! We recommend giving it a little glazen and shine just before it’s fully set so it can lock into the clay and fill up those porosities on the surface. For us, we choose to glaze it about an hour after leaving it to set - this gives it enough time to dry out a little and have enough structure and hold to not smear when glazing, but ensure it hasn’t fully set (we find waiting for the full set before glazing doesn’t provide as much “hold” for the clay so it isn’t reinforced by the glaze as much).
Hopefully these tips and tricks can help you on your next clay adventure to be bold, mould and find gold in the next air dry clay project ahead!
Leave us a comment or shoot us any questions if you’ve still got your clay kits in a knot!
Need more Air Dry Clay ideas? Check out more posts on our Clay Club blog


