Clay Bookends
These adorable bookends are the perfect way to add a touch of personality to your bookshelf, and they’re surprisingly easy to make! With a little bit of clay and a splash of paint, you can customise these bookends to match your style.

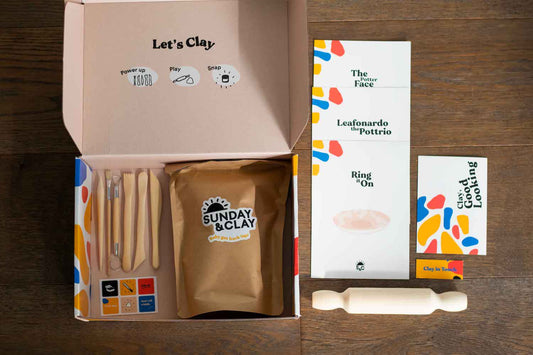
What you’ll need (all included in the Sunday & Clay Starter Kit):
- Air dry clay
- Rolling pin
- Craft knife
- Sponge (optional)
- Paintbrush (optional)
- Acrylic paints (optional)
What else you’ll need:
- A cup of water
- Newspaper or baking paper
- Pencil (optional)
- Stencils or craft stamps (optional)
Instructions:
- Plan your design! Think about what kind of bookends you want to make. Will they be animals, cacti, or maybe even funky geometric shapes? If you’re feeling fancy, you can sketch out your design on a piece of paper first.
- Roll out the clay. On a flat nonstick surface, use your hands to roll you clay into a long roll (think sushi roll but without the fillings!).
- Shape your bookends! For a loop bookend: Join the ends to make a loop. For a freestanding bookend: Simply shape your slug into a small arc, add a flat section (to stabilise the bookend to the table) and form another larger arch with the remaining slug of clay.
- Once you're happy with the design, set aside to dry. This may take anywhere from 2-5 days. We recommend if in doubt, leave it for longer! Tip: You can check if they're dry by running your finger over the creation - if it feels chalky, then it's ready for the next step!
- Once your bookends are dry, use a wet sponge to smooth out any rough edges. If you want to add a splash of colour, give your bookends a coat of acrylic paint.
- Finish them off by adding a thin coat of glaze. Let it dry.
- Show off your creations! Pop your bookends on your shelf and proudly display your awesome creations!
Extra tips:
- If you want your bookends to be extra sturdy, you can add a weight to the base before the clay dries. Small pebbles or wrapped coins would work well.
- Make sure the weight is completely covered by the clay so it doesn’t scratch your shelf.
- If you’re feeling really creative, you can add a little notch to the base of your bookends to hold a small plant or ornament.
- Note: with our special blend of air dry clay, you can choose to air dry OR kiln-fire your creations for that extra sturdy, polished feel
We hope you have fun getting creative with Sunday & Clay’s air dry clay! If you share your bookend masterpieces on IG/Tiktok, don’t forget to tag us @SundayandClay_ #SundayandClay


