
Add a whimsical touch to your space with a handmade cloud photo holder! This simple, charming project is perfect for displaying your favourite polaroids or notes. Using our Mini DIY Clay Kit, you can create your own in just a few easy steps. Ready to get started? Let’s roll (literally)!
What You’ll Need
- Mini DIY Clay Kit (available here)
- Rolling pin
- Small knife or clay tool (included in the kit)
- Acrylic paint (optional)
- Glaze (included in our kits)
- Polaroid or small photo to test the slit size
Step-by-Step Guide
Step 1: Roll Out Your Clay
Take a portion of air dry clay from your kit and roll it out to about 1cm thickness. Smooth out any cracks with water as you go.
Step 2: Cut Out the Cloud Shape
Using a small knife or tool, cut a fluffy cloud shape. Don’t stress about making it perfect—clouds are meant to be unique!

 .
.
 .
. 
Step 3: Add the Photo Slit
Gently cut a small slit along the top edge of the cloud. Make sure it’s deep and wide enough to hold a photo securely. Test with your polaroid for accuracy.
Step 4: Let It Dry
Place your cloud on a flat surface and allow it to dry completely—this may take 24–48 hours depending on humidity.
Step 5: Paint Your Cloud (Optional)
Once dry, paint your cloud with your favourite colours or keep it white for a clean, minimal look.
Step 6: Glaze It
Apply a layer of glaze to give your cloud a shiny finish and added durability. Let it dry thoroughly.


Step 7: Display Your Photo!
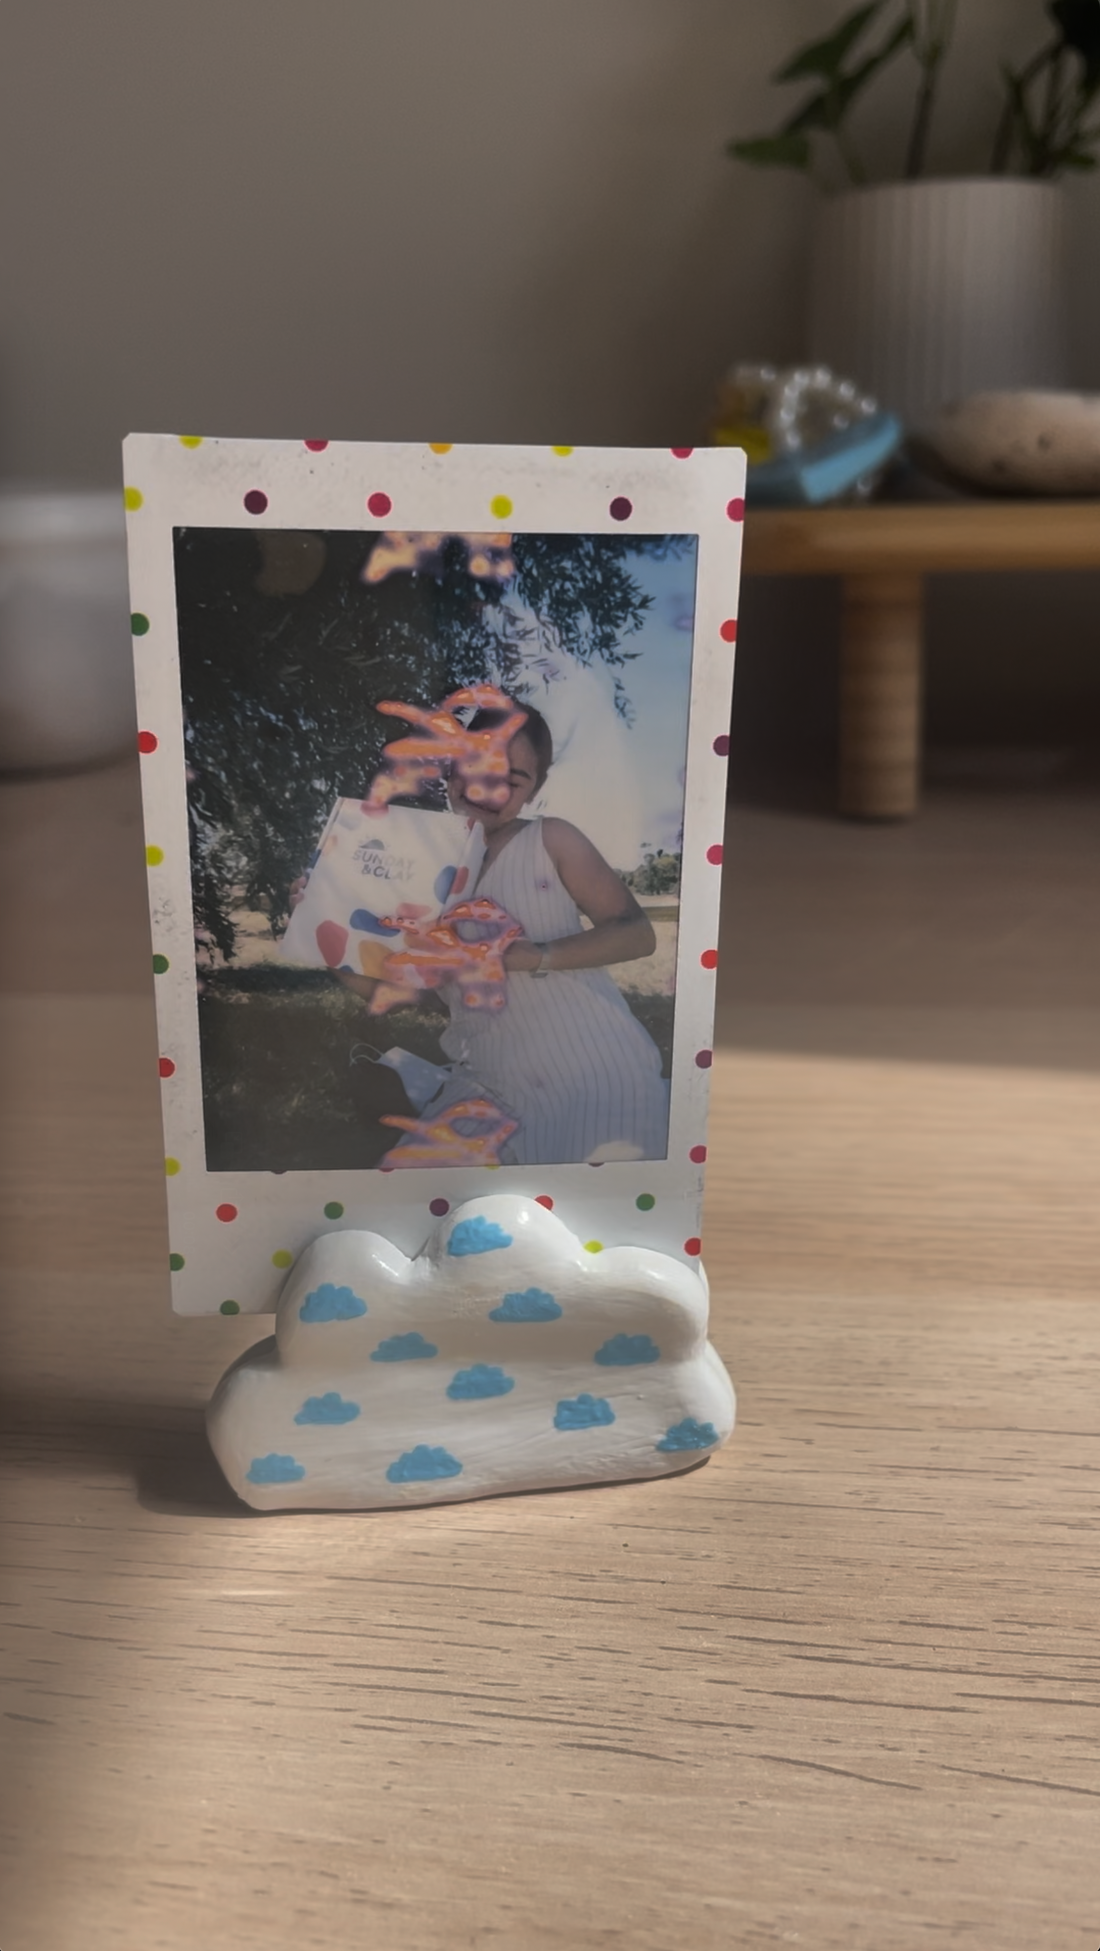
Pop in your favourite polaroid or photo, and your adorable cloud photo holder is ready to brighten up your desk or shelf.
Tips & Tricks
- Use a small piece of sandpaper to smooth out rough edges before painting.
- For a playful vibe, paint your cloud with pastel shades or add little raindrops!